|
|||||||
 |
 |
||||||
 |
|||||||
 |
|||||||
|
|||||||
|
|
||||||
|
|||||||
|
|||||||
|
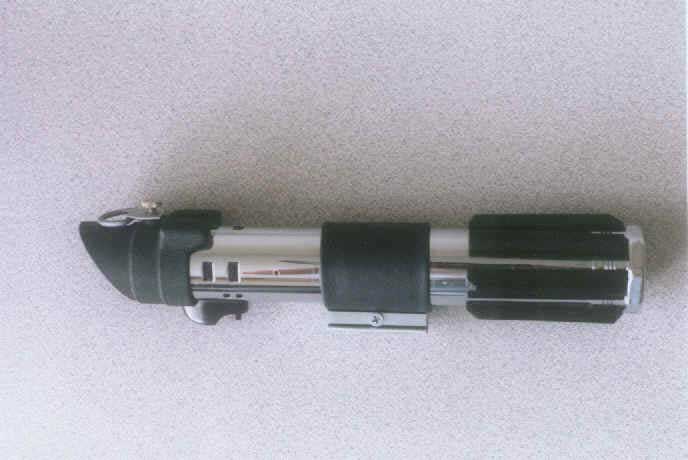
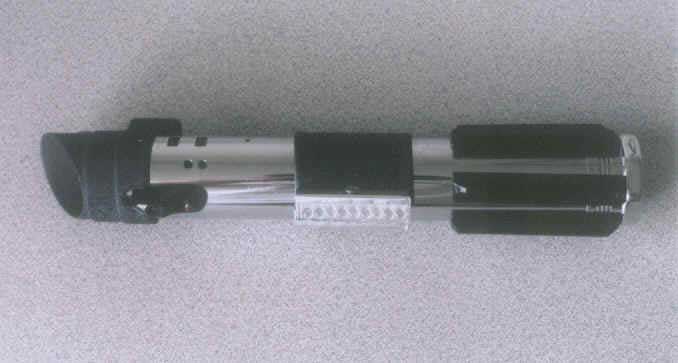
Saber for the Dark SidePage FiveNow prepare the putty. Once you start kneading the putty, you only have about 5 minutes of working time with it, so work quickly. When you take the putty out of the tube, it will likely be sealed in a plastic wrapper. Remove it from the wrapper and start kneading it. I wear latex gloves while doing this. I'm not terribly fond of the cleanup involved when working with any type of A/B epoxies, so I like to protect my hands as much as possible. Keep kneading the putty until it is a uniform color. Then press the putty into the mold you've just completed. Make sure the putty gets completely into the channel. Now, take the PVC pipe and press it firmly into the top of the mold. This will shape the back of the grip so that it will match up with the flash tube. You might have to roll the PVC pipe back and forth a little to get an even camber. If any putty is forced out of the mold, just trim it with an X-acto knife later. Let the putty cure for 15 minutes. You will notice the putty heating up as you work with it. This is normal...it is a sign that the putty is starting to cure. Carefully pry out the grip with a tiny flathead screwdriver tip. It will become apparent why I suggested 4" rather than 3" for the length of the mold. Prying out the grip will likely damage the top of the grip. This should be no problem since we have 1" spare that we can cut off. The putty will be mostly cured but is still flexible enough to cut easily with an X-acto knife. Cut the excess length of the grip off at both ends so that the grip measures 3" long. Make sure the cut is at 90 degrees. Now cut the top part of the grip (the part that is shaped like a V) at an angle as shown in Figure 12. You can eyeball the angle. Only the top part of the grip should be angled this way. The base of the grip should remain at 90 degrees. Do this at both ends. Also trim any excess putty from the sides of the grip. Now, repeat the steps for casting the grips 5 more times. It generally takes me about 2 hours to get a set of 6 grips. If you want to get really fancy, you can create a mold like the one above, but make it so that it can accommodate 2 grips at a time. This will speed up the process significantly. Do not, however, try to make a really long channel and hope to get all 6 grips out of one length of putty! You will be sorely disappointed. Once you have all 6 grips, test fit them to the flash. Make sure that they fit reasonably well to the camber of the flash. If any of them don't fit quite right, you can use a half-round file to improve the profile of the grip. You shouldn't have to do this if you used the PVC pipe correctly. Let the grips fully cure for an hour. Then wet sand them with fine-grit sandpaper (400 or above) to smooth them out a bit. Then you can shoot them with a coat of black paint and set them aside. Finishing off the Saber Now that the clamp is in place, you can put the handle grips on the flash.
Cut strips of the double-sided tape so that they fit on the back of the handle
grips. You might want to cut two for each grip and stick them one on top of
the other. This will build up the surface area underneath the grip so that it
adheres to the flash a little better. Stick the grip onto the flash so that
the end of the grip just touches the projection at the bottom of the end cap.
That is, part of the end cap will be covered by the grip. There should be about
5/8" between the top of the grip and the clamp. Do this for the other 5
grips, making sure they are spaced evenly apart.
And that's it. You have a nice replica of Darth Vader's lightsaber for much less than the cost of an ICONS replica. Now if it only worked!
Table Of Contents
|